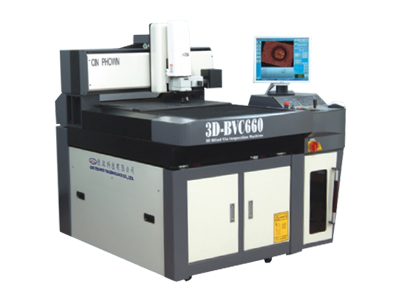
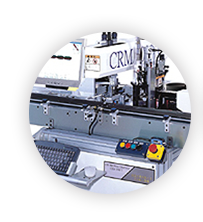
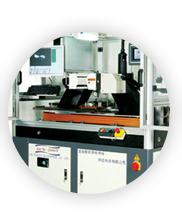
❖ 3D Laser Blind Via Inspection Machine 3D-BVC660

Equipment main function
- Conformal window, Top/bottom diameter, 3D profile, Taper, Depth measurement
- Via bottom quality observement
- Sample cross section measurement (within F.O.V.)
- Laser beam shape comparison.
- Can trace via position by excellon 2 format.
- Line width, space, depth measurement and observement. (Option)
- Gold finger quality measurement and observement. (Option)
Specifications
| Microscope and imaging system | High N/A system : suitable for residue, remelt, broken on cu bottom observement. Fiber protrusion of via wall observement. |
| Magnification rate | 25X~500X |
| Measurement accuracy (Under 500X) | ±1µm. (Under 500X) |
| Product specifications | Working distance : 700 x 650mm. Panel thickness 0.3 to 3.0mm. Blind via quality check (after laser, desmear, plating) : via size : 35~450µm. |
| Lighting system | Halogen 150W (brightness adjustment), Aperture stop & field stop. (contrast adjustment) |
| Report | Auto producing statistic report and analysis result. |
| Measurement system | Advanced 3D blind via inspection software, statistic software, 2D measurement software. |
| Weight / Dimension | 1500(kg)/1350x1331x1462(mm) |
| Power | AC 220 V ; 1 F ; 50 / 60 Hz ; 4K W |


