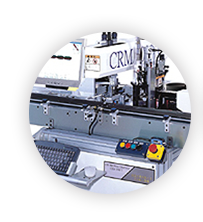
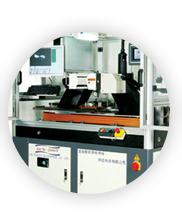
❖ Automatic Drill Bit Inspection Machine Desktop Model(Evo) BCM-2002ES
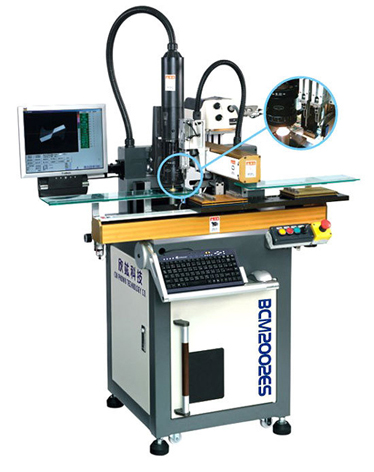
◪ Function Advance
- Twin P&P structure 50% throughput up.
- Specification data output as excel format, it is benefit for report and data processing.
- Inspection report verified by national test, precision verified by SEM test…
◪ Input area: Collect/Repact mode, can avoid some noise factor that will influence the result
Include 3 kind of packages, 200 drill bits in buffer area can be inspected and report it specification result within 20 minutes by this twin P&P design. The throughput can increase 50%
◪ Fast report: It can save time for marking report
No matter what kind of report format, you can easily and quickly modified it by this excel form…

◪ Auto-spinning function
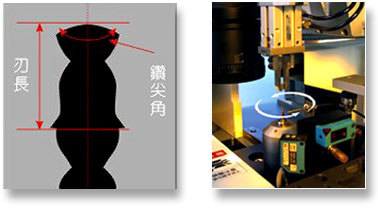
CIN-PHOWN develops the spinning function to measure the point angle of drill bit and UC fluent length (suit for drill bit with or without ring). By this design you can save more time and get better data reliability than traditional methods, If you use this equipment, you can strengthen your drilling process compatibility:
A: Control the fluent of the UC.
B: Increase the polish time for drill bit.
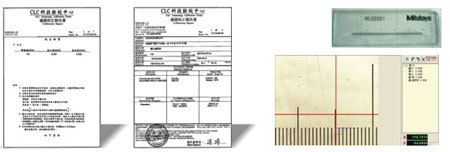
◪ National proofed report inspection report is verified by national lab and PCB QIC department.
- Use a glass meter its scale data is inspected by national lab as our standard.
- Use CCD to measure the scale on the meter: compare the measured data to CCDs, then judge the result if it is within the error tolerance.
◪ Equipment characteristics
- Precision as SEM: the through is 50% up.
- Manage the UC fluent length and increase the drilling process capability easily.
- Auto Running (focusing, loading, unloading, measuring, easy operation) to get safe and reliable inspection process.
- Report: Analysis with both image and data to help you solve and improve the difficulty easily.
- Drill bit (Badness and good ones) can be discharged for further management.
◪ The BCM-2002ES measurement data can correlate to the SEM’s


